

The NPX Lab Suite of the BF++ Framework allows you to perform several analyses on many different signals. The results of these analyses should be stored in the files themselves but commonly used file formats do not allow this. For this reason a new file format (the NPX file format) has been developed and implemented in order to allow to add any kind of information to a file without breaking the backward compatibility, which means that all the software tools already available do not need to be modified and will continue to work even if a huge amount of new data and information is added to a file.
The File Converter is a tool that allows you to convert many different file formats (EDF, BCI2000, GDF, Neuroscan, NPX, Brain Vision Analyzer, EBNeuro, Micromed, CTF MEG, ASCII, Microsoft Wave, etc...) from their native format to the NPX one (and ASCII, Brain Vision Analyzer and EDF). This operation does not modify in any way your original file. Note that this utility can also be used to convert a NPX file into another NPX file, in order to remove channels, filter signals, resample, etc…
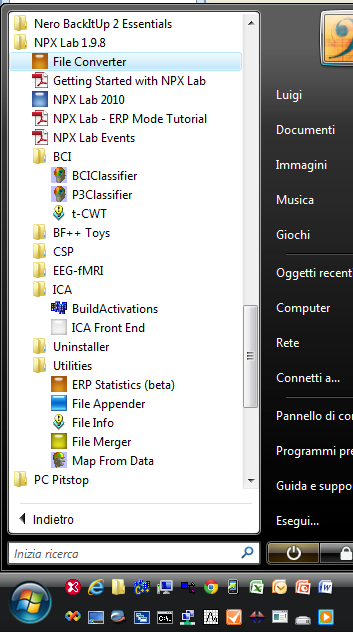
After having launched the application from the NPX Lab menu
the following form will be shown.
![]()
It is divided, from left to right, into four main areas: Source file, Sensors, Time Interval Export Settings, and Destination file. Usually one operates according to this order.
1) Source file
The first thing to do is to open the file that needs to be converted. It can be loaded in two different ways:
a) Complete, which means that all the file is loaded in memory and then converted. While this modality is slower (it might need a huge amount of memory and possibly fail to allocate it) it minimizes the border effects of time domain filters, them being present just at the beginning and at the end of the recording. For this reason this should the preferred choice.
b) in Pages of X seconds. In this modality the signal is loaded in consecutive "pages" of X seconds and then converted. This optimizes the use of the memory, and can be slightly faster, but can generate border effects at the beginning and ending of each page, even if countermeasures are implemented to minimize this undesired effect. Use this option if you experience memory problem, usually with original files are larger than 500MB.
After you have chosen your desired loading modality, press the Load File… button on the top left of the form.
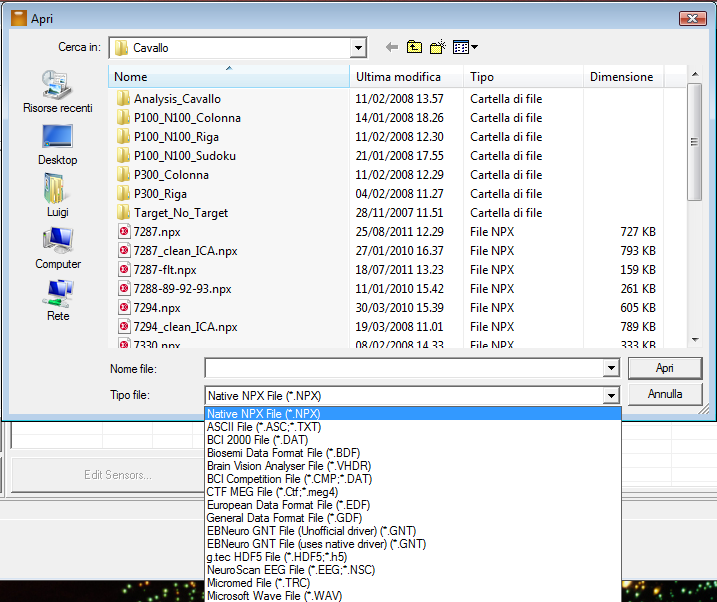
It is necessary to select the proper file format (several file formats are supported) and then the desired file. Press the Open button and then, depending on the file type, one among two different things might occur:
i) another Dialog Box will be shown, which allows to set some parameter that have to be defined before the conversion (e.g. ASCII files: where are stored (if they are) the number of samples and/or the sampling rate?
ii) the data are loaded without any other request. Note that, depending on the file format, this operation could take a long time because some information not directly available in the file needs to be computed.
After the file has been opened, many controls of the main form will be filled with data extracted from the file itself, such as the sampling rate, the events, the sensors, etc.. as in the following figure:
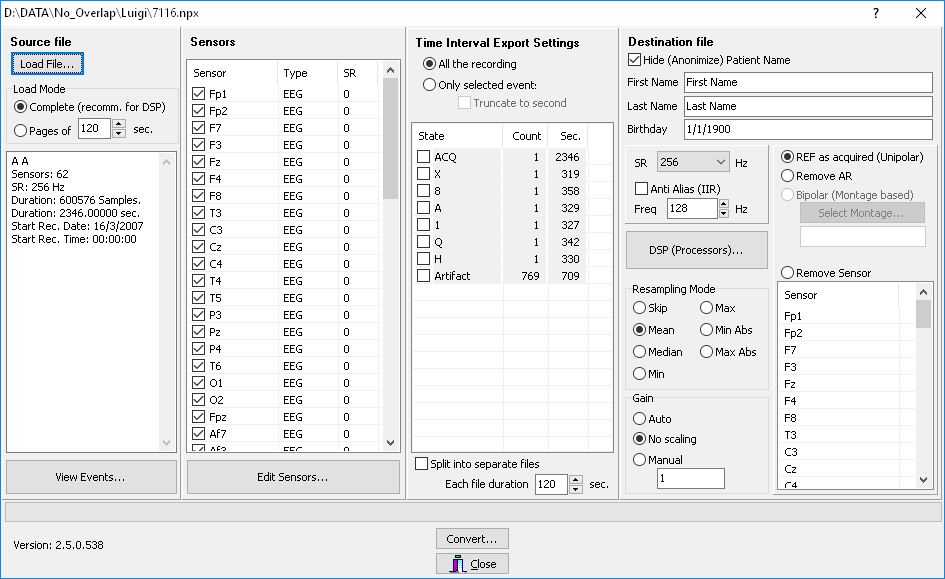
The "View Events..." button allows to review all the events stored into the source file, which, as all files are opened in read only mode, cannot be modified.
2) Sensors
After having loaded a source file, a list is populated with the recorded sensors, their type (e.g. EEG, MEG, EMG, etc...) and sampling rate. It might occur that some sensors are not properly recognized or that the type is considered "Unknown". In this case press the "Edit Sensors..." button to set the proper types and eventually their coordinates.
3) Time Interval Export Settings
From this form groupbox one can choose which portion of the file has to be converted: usually one wants to convert the whole file, but it also possible to convert only a portion of a file, delimited by some events that can be selected from the list, that also indicates their overall duration.
4) Destination file
During the conversion the signals can be downsampled according to 7 different options (Resampling Mode radio group). Please note that it is possible to convert only a portion of the file (Time Interval Export Selection Mode group).
Finally, the name of the subject can be hidden (for privacy reasons) and all the available processing can be applied to the output file, such as IIR and FIR filtering, ICA source computation, Spatial filtering, etc…
After a data file has been converted it can be opened and viewed with the NPX Lab software tool. Note that the NPX Lab can actually read any of the file format that can be handled by the File Converter, but be aware that all the capabilities of this tool are available just with the NPX data files. So, in general, it is recommended to convert a data file into the NPX format before opening it with any other BF++ tools.